WriteReader is a fantastic tool for engaging students in reading and writing on its own, but we are going to demonstrate how you and your students can combine WriteReader with other tools and websites to create something truly special. In this post, we’ll show you how to add an additional element to your students’ stories by inserting images created using the DoInk Green Screen app.
DoInk Green Screen
DoInk is a very user-friendly app that allows teachers and students to create green screen images and videos. While teachers can create the videos, it is also possible to teach even young learners how to use this app. Click here to download the app onto your iOS device.
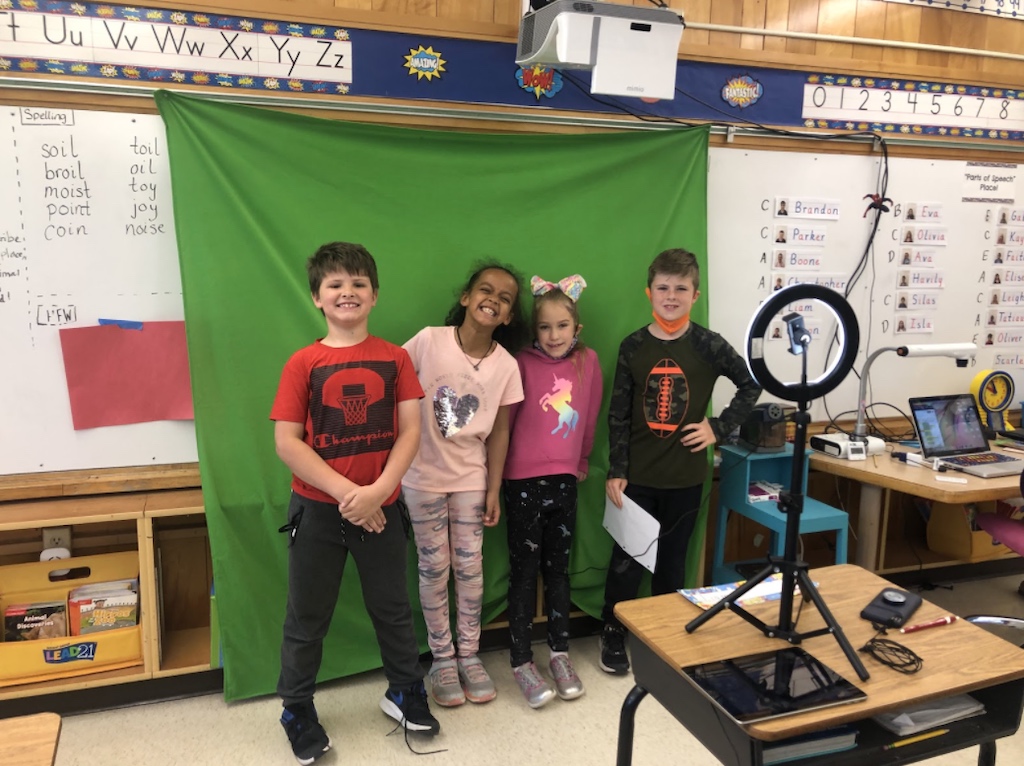
You will need a green screen for this project, though this does not have to be anything expensive; I prefer to use a piece of thick green fabric that I tack to or hang from the wall. You may also want to have an iPad stand or tripod, as well as an inexpensive lamp or ring light to ensure proper lighting, but these are optional.
Creating the Green Screen Images
Begin by taking the student’s photo in front of the green screen with the camera app of the iPad. Next, select the image you will use for the background of the photo. I like to use sites such as Unsplash, Pixabay and Pics4Learning to select copyright free images for these projects. Save this image to the camera roll of the iPad.
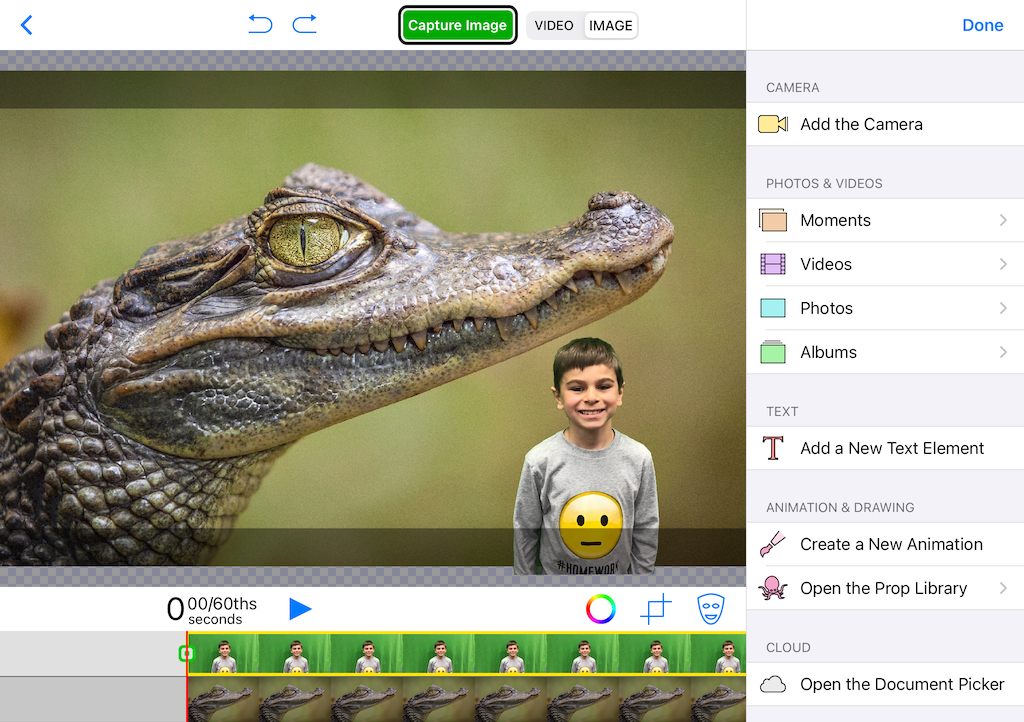
In the DoInk Green Screen app, create a new project. Press + to add the student’s green-background image into the top layer. In the next layer, add the photo the student chose for their background. Select “capture image” and save the image to the camera roll of the iPad.
Adding the Images to WriteReader
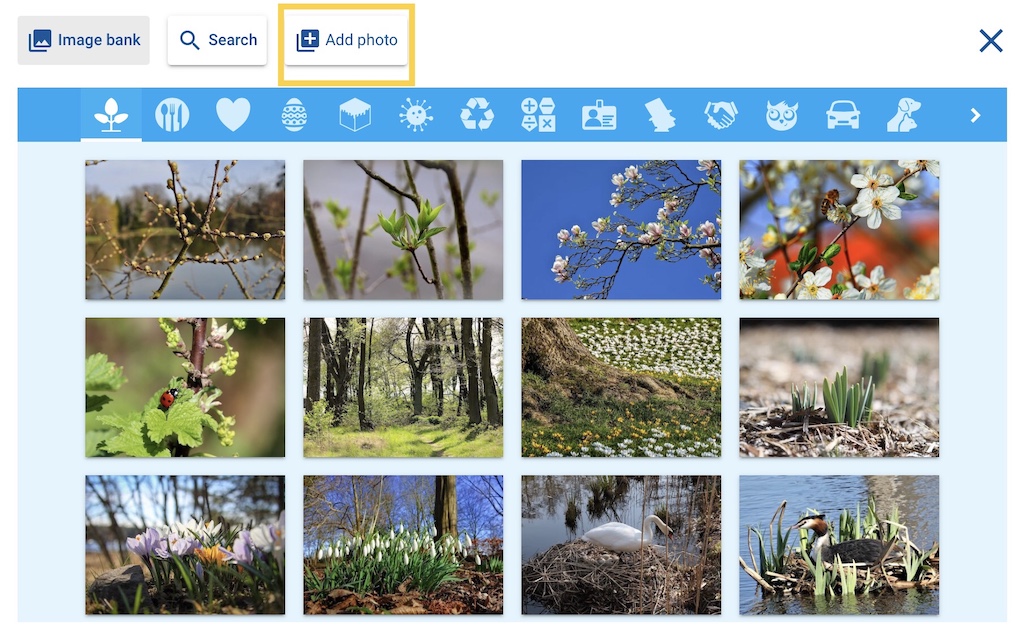
Once the green screen images are created and saved to the camera roll of the iPad, they can easily be uploaded into the student’s book. Choose image, then + Add photo, then Photo Library.
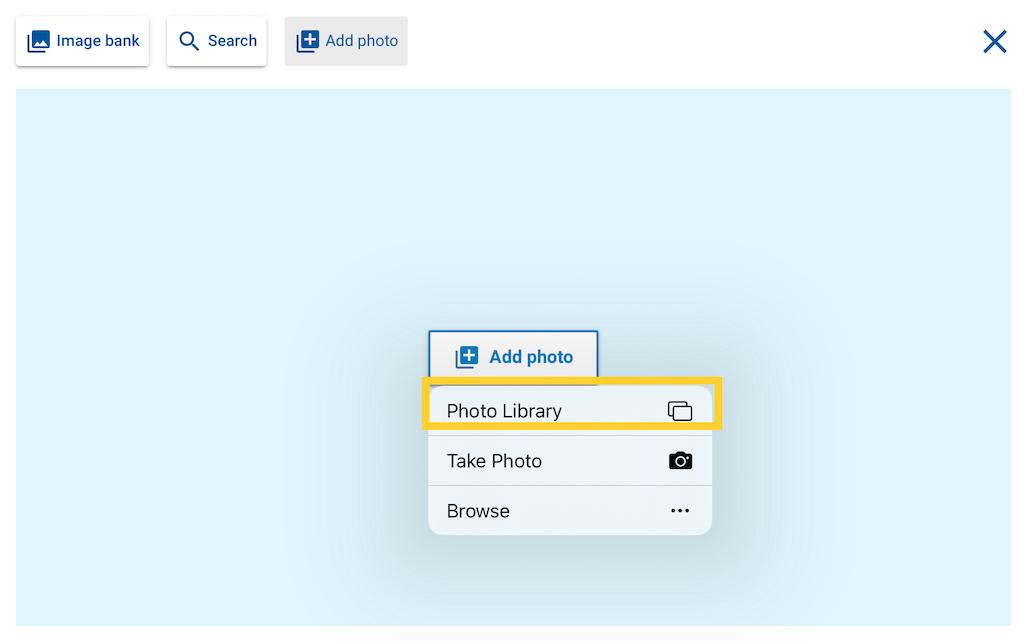
Video Tutorial
This video tutorial shows the process of creating the green screen images and saving them to the WriteReader book.
Book Ideas
The green screen photo project would be a fantastic addition to many of your students’ WriteReader stories. Here are a just a few ideas:
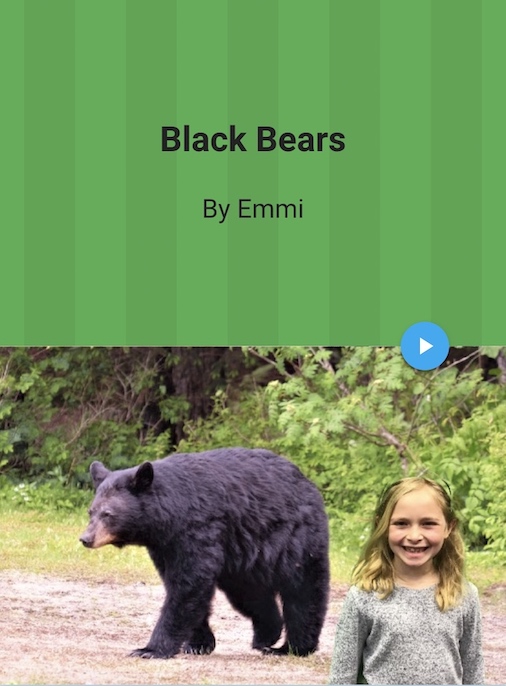
Animal Research:
Students spend time researching and learning about a particular animal, then publish their writing using WriteReader. The green screen photo allows them to be “in” the book alongside the animal they are sharing about.
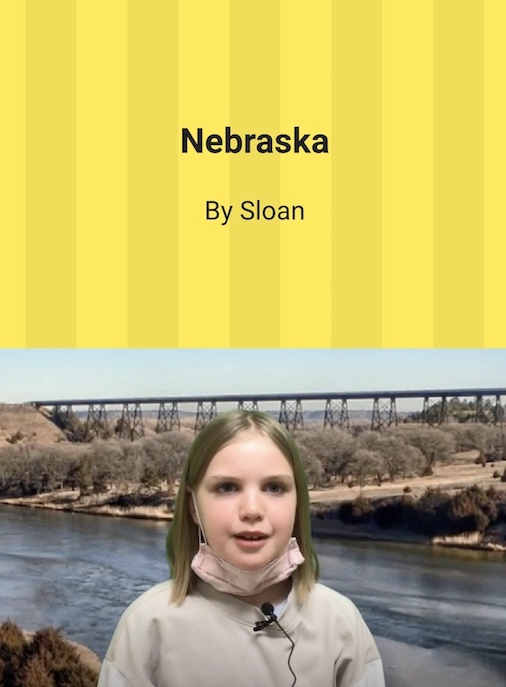
Places:
Students learn about particular places, or write stories about places they are interested in and would like to visit some day. Green screen photos can be added, showing students “at” the places they are writing about.
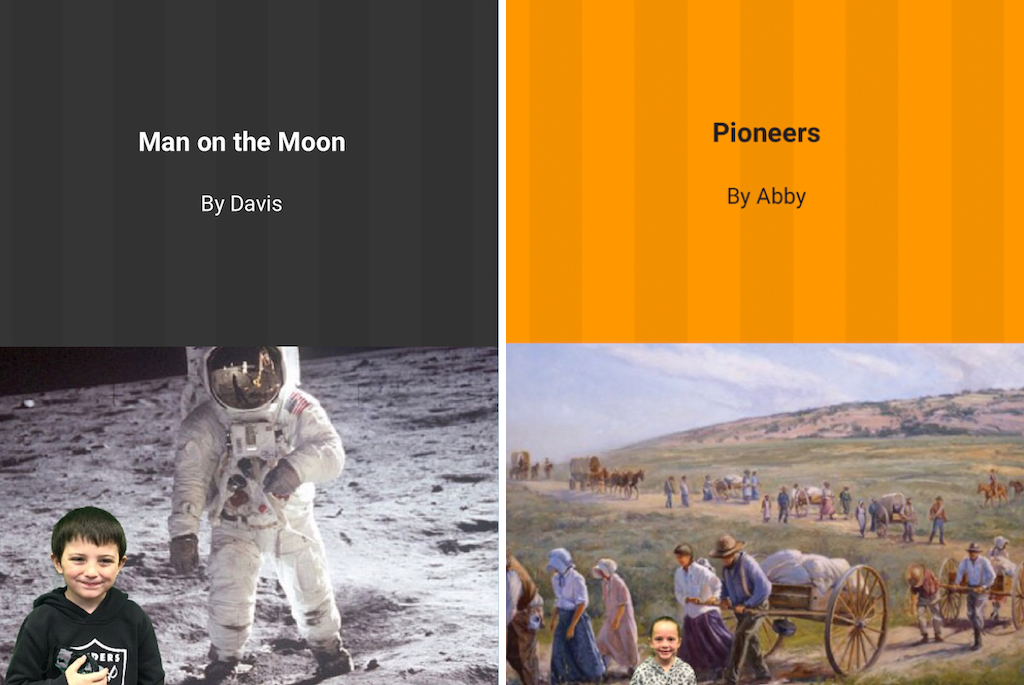
Historical Figures or Events:
After completing a unit of study about a particular period of time in history, students can write to show what they know. Green screen photos can include these important historical figures or events and add an authentic touch to student stories.
DoInk Resources
If you would like help getting started with the DoInk Green Screen app, we recommend visiting the DoInk website. The website includes some helpful resources such as tutorials and reference sheets.
Green Screen on Chromebooks
While DoInk is available as a mobile app only, there are some options for creating green screen projects on a Chromebook. We recommend WeVideo, and this post shows how to create a still image to insert into a WriteReader story.
We will continue this series of posts, showcasing some favorite edtech tools and how to team them up with WriteReader to create amazing books!
